Telemetry Plots using gnuplot
These instructions only apply to the backup plotting tool, gnuplot.
Mission Telemetry Preparation
Currently images are only plotted for the initial telemetry file. Follow these steps to generate telemetry plots:
- Deselect the Multiple loops (configuration default) checkbox, two-thirds of the way down on the Mission Controller Pane.
Alternatively, deselect via menus:
Mission Run => Default Execution Preferences => Multiple loops.
- Run only one robot mission of interest, all the way to completion.
Viewing and generating plots
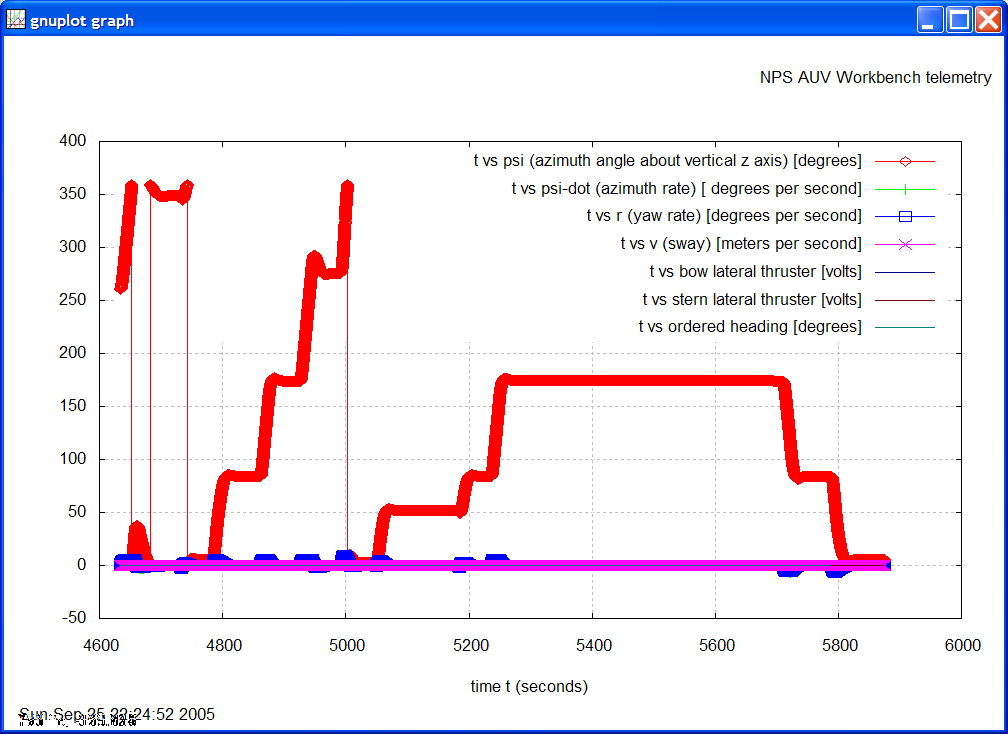
The View => Plot Telemetry menu provides 2D graphical plots of numerous robot telemetry values following mission operation.
Telemetry values provide a "state vector" of all critical robot state values that were computed during the conduct of a run.
- View => Plot Telemetry => Display Mission Plots displays individual telemetry plots corresponding to the latest mission.


- View => Plot Telemetry => Recompute Plot Images
produces all plot images corresponding to the latest selected vehicle mission.
Be sure to select the correct vehicle (UAV UGV USV UUV) and perform this step before viewing the mission telemetry report.
Image plotting status is provided in the system console.
- View => Plot Telemetry => Mission Telemetry Report [
Ctrl-F4] shows all generated plot images on a single HTML page.
Further information is available online describing the
gnuplot data and function plotting utility.
Back to the
Help page index,
the
AUV Workbench: Introduction
page,
or online to
AUV Workbench home page.

